Fitness & Easy Training
Fitness doesn’t require expensive memberships, complicated machines, or hours of free time. The most effective training often happens in your living room, using nothing more than your body weight and a clear understanding of movement principles. This approach to fitness prioritizes accessibility, safety, and sustainable progress—making it ideal for beginners, busy professionals, older adults, and anyone seeking a practical path to strength and mobility.
Whether you’re navigating space constraints, recovering from sedentary habits, or simply looking for a smarter way to move, the fundamentals of easy training rest on four pillars: mastering bodyweight movements, creating a functional training environment, understanding proper mechanics, and distinguishing mobility from mere flexibility. Each element builds upon the others, forming a complete system that adapts to your current abilities while scaling upward as you grow stronger.
Why Bodyweight Training Forms the Foundation
Bodyweight exercises offer a unique advantage that external weights cannot replicate: they teach your nervous system to coordinate multiple muscle groups while managing your own mass through space. This proprioceptive feedback—your body’s awareness of its position and movement—creates a foundation for safe, efficient movement patterns that transfer to every physical activity you’ll encounter.
For older beginners or those with limited training experience, bodyweight work provides an inherent safety mechanism. Unlike barbells or machines that can impose dangerous loads before you’ve developed proper control, your own weight serves as a self-regulating resistance. You’re constantly receiving feedback through joint position, muscle tension, and balance demands, which helps prevent the compensation patterns that lead to chronic injury.
The toning effect of bodyweight training stems from time under tension and movement variability. When you hold a plank, perform slow push-ups, or execute single-leg squats, your muscles must sustain contraction while stabilizing joints across multiple planes. This creates both strength and muscular definition without the bulk associated with heavy lifting. Think of it as sculpting rather than building—you’re refining the muscular system you already possess.
Scaling Difficulty Without Adding Equipment
One common misconception suggests that bodyweight training plateaus quickly. In reality, subtle changes in leverage, tempo, and range of motion can dramatically increase difficulty. Moving from a push-up on your knees to a standard push-up represents a significant strength jump, but the progression doesn’t end there. Elevating your feet, adding pauses at the bottom, or performing the movement on one side creates new challenges that continue developing strength for years.
The key is understanding progressive overload through mechanics rather than added weight. Slowing down the lowering phase of any exercise doubles or triples the muscular demand. Reducing your base of support—going from two legs to one, or from both hands to a single arm—forces stabilizing muscles to work harder. These adjustments cost nothing and require no storage space, yet they provide endless variation.
Creating Your Training Space at Home
Effective home training doesn’t demand a dedicated room or elaborate setup. What matters more than square footage is intentional design of the space you do have. A well-organized corner of a bedroom or a section of your living room can become a perfectly functional training area with a few strategic decisions.
Start by identifying a space large enough to lie down with arms extended overhead and perform a lunge in multiple directions—roughly 6 feet by 6 feet provides adequate room. Clear this area of furniture with sharp edges or fragile items. The psychological benefit of a dedicated space, even a small one, shouldn’t be underestimated. When you step onto your designated training area, your mind shifts into movement mode more readily than when you’re squeezing workouts into random available spaces.
Smart Equipment Investments
While bodyweight forms your foundation, a few minimal investments expand your options considerably. Prioritize purchases based on versatility and space efficiency:
- Exercise mat: Provides cushioning for floor work, defines your training space, and protects flooring from sweat
- Resistance bands: Add variable resistance to movements, assist with stretching, and pack flat for storage or travel
- Pull-up bar: The one movement pattern difficult to replicate without equipment; doorway-mounted versions install without tools
- Foam roller: Essential for mobility work and tissue quality, addressing the stiffness that accumulates from desk work
Avoid the trap of accumulating equipment before mastering fundamental movements. A closet full of unused kettlebells and suspension trainers won’t improve your fitness; consistency with simple exercises will. Purchase items only when you’ve genuinely exhausted the possibilities of what you already own.
Preventing Common Home Training Injuries
Training at home removes the external accountability of trainers or gym culture, which makes self-monitoring crucial. The most frequent injuries stem from enthusiasm outpacing preparation—attempting advanced variations before building foundational strength, or training through fatigue when form deteriorates.
Create a safety checklist before each session: Is the floor surface stable and non-slip? Have you removed obstacles from your movement path? Are you wearing appropriate footwear (or training barefoot on a suitable surface)? Have you completed a proper warm-up? These seem obvious, but the casualness of home training often leads to skipped precautions that wouldn’t be overlooked in a formal gym setting.
Mastering Fundamental Movement Patterns
Three exercises form the cornerstone of any effective bodyweight program: push-ups for upper body pressing, squats for lower body strength, and planks for core stability. Developing proficiency in these movements—and understanding how to progress them safely—provides a complete foundation for lifelong fitness.
Push-Up Progression for Upper Body Development
The push-up simultaneously works your chest, shoulders, triceps, and core while teaching your body to move as a unified system. Poor execution, however, transforms this beneficial exercise into a shoulder strain waiting to happen. The most common error involves flaring the elbows outward to 90 degrees from the body, which places excessive stress on the shoulder joint’s front capsule.
Proper form maintains the elbows at roughly 45 degrees from your torso, creating an arrow shape rather than a “T” when viewed from above. Your body should form a straight line from head to heels, with your core engaged as if bracing for a punch to the stomach. Lower yourself until your chest hovers an inch above the floor, then press back up while maintaining this rigid body position.
Progress through these stages systematically:
- Wall push-ups: Build initial strength and establish movement pattern with minimal load
- Elevated push-ups: Hands on a sturdy bench or step, gradually lowering the surface height
- Knee push-ups: Ensure your body remains straight from knees to head, not bent at the hips
- Standard push-ups: Full body tension, controlled descent taking 2-3 seconds
- Tempo variations: Add pauses at the bottom, slow the lowering phase to 5 seconds, or add pulses
- Advanced variations: Feet elevated, single-arm progressions, or plyometric push-ups
Frequency matters more than volume for building strength. Performing 3-4 quality sets of push-ups three times per week produces better results than exhausting yourself with 100 sloppy repetitions once weekly. Your nervous system needs regular practice to optimize muscle activation patterns.
Safe Squat Mechanics for Sedentary Individuals
For people spending most of their day seated, the squat presents a paradox: it’s one of the most beneficial exercises for reversing the damage of prolonged sitting, yet that same sitting creates the mobility restrictions that make squatting dangerous. The hips lose extension and rotation capacity, the ankles stiffen, and the movement pattern itself becomes foreign to the nervous system.
The most dangerous knee mechanic occurs when the knee collapses inward during the descent or ascent—a pattern called valgus collapse. This places enormous stress on the knee’s medial structures and often results from weak hip abductors combined with tight hip internal rotators. Rather than forcing yourself into a deep squat immediately, address the mobility limitations first while building strength through partial ranges.
Begin squat training with this self-correction methodology:
- Stand facing a wall, toes 4-6 inches away, to prevent forward knee travel that compensates for ankle stiffness
- Focus on pushing your hips backward as if sitting into a chair, keeping your chest elevated
- Lower only as far as you can while maintaining a neutral spine—this might be just a few inches initially
- Drive through your whole foot to stand, thinking about spreading the floor apart with your feet to activate hip stabilizers
- Gradually increase depth over weeks as mobility improves, never forcing range of motion
Proper Warm-Up Sequencing for Squats
Jumping straight into squats with cold, stiff tissues invites injury. An effective warm-up sequence takes 5-7 minutes and prepares the specific joints and movement patterns you’ll use:
- Hip circles: 10 circles each direction per leg, focusing on smooth, controlled motion
- Ankle mobilization: Wall-facing ankle stretches, 10 controlled reaches per side
- Glute activation: Bodyweight glute bridges, 15 repetitions with 2-second holds at the top
- Movement rehearsal: 10 air squats at 50% depth, focusing on maintaining knee alignment
- Working sets: Begin your actual squat training with increased depth and focus
Re-Evaluating the Plank for Core Stability
The plank has become ubiquitous in fitness programs, often prescribed as a timed endurance challenge: “Hold for 60 seconds!” This approach misses the exercise’s true purpose while potentially aggravating back pain. The plank’s value lies in teaching your deep abdominal muscles—particularly the transverse abdominis—to stabilize your spine against gravitational forces.
The most common error involves allowing the lower back to sag, which loads the lumbar spine’s passive structures rather than engaging the core musculature. This happens when people prioritize duration over quality, holding the position long after their muscles have fatigued and their pelvis tilts forward. A properly executed 20-second plank provides more benefit than a 2-minute plank with sagging form.
To execute a quality plank, think about creating tension in two directions simultaneously: pull your elbows toward your toes and your toes toward your elbows without actually moving. This creates whole-body tension that protects your spine. Your body should form a straight line from head to heels, with your pelvis slightly tucked (imagine bringing your pubic bone toward your ribcage).
Increase intensity without extending time by trying these variations:
- Reduce contact points: Lift one leg slightly off the ground, or extend one arm forward
- Add instability: Place your forearms on a slightly unstable surface like a folded towel
- Incorporate movement: Shoulder taps, hip dips, or arm reaches that force your core to resist rotation
- Change positions: Side planks target different core muscles and identify strength imbalances
The ideal timing within your workout places planks and other core-specific exercises at the end of your session. Your core works during all compound movements like push-ups and squats, so training it fresh at the beginning can compromise performance on those more complex exercises. Save dedicated core work for the final 5-10 minutes.
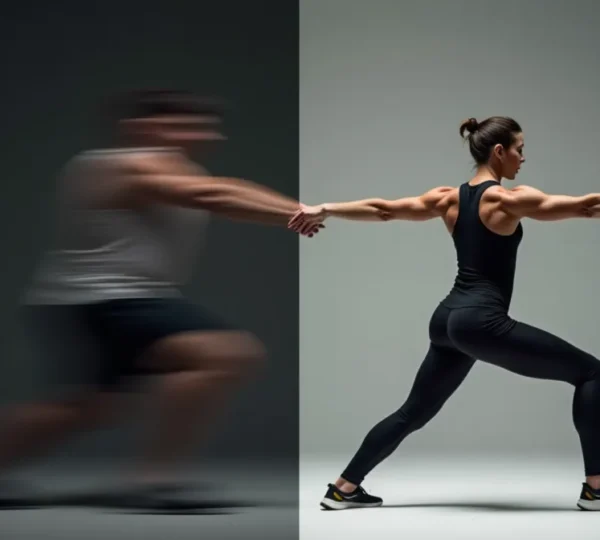
Distinguishing Mobility From Flexibility
Most people use “mobility” and “flexibility” interchangeably, yet understanding their distinction unlocks the solution to chronic stiffness and injury prevention. Flexibility refers to the passive range of motion in a joint—how far your tissues can lengthen when you relax and apply external force. Mobility describes your active, controlled range of motion—how far you can move a joint using your own muscular strength.
This difference matters enormously for practical movement. You might possess excellent passive flexibility in your hamstrings (touching your toes while relaxed), yet lack the mobility to control your leg through that same range during a kick or step-up. This gap between passive flexibility and active mobility creates vulnerability—you can access positions you cannot control, which invites injury during dynamic activities.
Active Versus Passive Stretching Methods
Traditional static stretching—holding a relaxed position for 30-60 seconds—improves passive flexibility but does little to enhance the neuromuscular control that defines true mobility. This explains why some individuals can perform full splits yet struggle with basic movement patterns like deep squats. Their nervous system never learned to coordinate muscle activation through those ranges.
Active mobility work emphasizes controlled movement through full ranges rather than held stretches. Joint circles exemplify this approach: slowly rotating your shoulder, hip, or ankle through its complete range while maintaining control teaches your nervous system to map and own that territory. Start with small, comfortable circles and gradually expand the diameter as your control improves.
Compensation errors undermine mobility work’s effectiveness. When performing a hip circle, for instance, many people compensate for limited hip mobility by rotating their lower back—the movement looks similar superficially, but it reinforces dysfunction rather than correcting it. Focus on isolating the specific joint you’re targeting, even if that means working through smaller ranges initially.
Comparing Stretching Types and Optimal Timing
Different stretching modalities serve distinct purposes and fit better at specific points in your training:
- Dynamic stretching: Active movements that take joints through full ranges (leg swings, arm circles); ideal before training to prepare the nervous system
- Static stretching: Passive holds in lengthened positions; best after training when you want to improve flexibility without compromising performance
- PNF stretching: Contract-relax techniques that temporarily increase range; useful for addressing specific restrictions but demanding on the nervous system
- Loaded stretching: Adding light resistance to end-range positions; builds mobility by strengthening tissues in lengthened states
Optimize timing by performing dynamic mobility work before training sessions to prepare joints and activate stabilizing muscles. Save static flexibility work for after training or during separate sessions entirely. Attempting deep static stretches before strength work can temporarily reduce force production and impair coordination—the opposite of what you want when learning complex movements.
Building Consistency and Sustainable Progress
The most sophisticated program fails without consistent execution. Easy training succeeds precisely because it removes the barriers that derail motivation: no commute to the gym, no intimidating equipment, no complex scheduling. Yet this accessibility can paradoxically reduce adherence—when training is always available, it becomes easy to postpone indefinitely.
Establish non-negotiable training appointments with yourself, treating them with the same respect you’d show external commitments. Three focused 30-minute sessions per week produce dramatically better results than sporadic hour-long workouts whenever motivation strikes. Regularity trumps intensity
Mobility vs. Flexibility: What You Need to Fix Chronic Stiffness?
If you stretch relentlessly but remain chronically stiff, you’re likely targeting the wrong problem. The common belief is that stiffness comes from “tight” muscles needing to be lengthened. The reality is that stiffness is often your nervous system applying “brakes”…
Read more
Why the Standard Plank Fails to Fix Back Pain (And What to Do Instead)
The long-hold plank you’re doing is likely reinforcing bad patterns and hurting your back, not helping it. True core stability comes from maximal, short-duration tension in the deep core muscles, not from simply enduring for minutes on end. Common form…
Read more
How to Perform Deep Squats Without Knee Pain if You Sit All Day?
Knee pain during squats for desk workers is rarely a knee problem—it’s a symptom of hip immobility and muscle imbalances caused by prolonged sitting. Chronically tight hip flexors and dormant, weak gluteal muscles are the primary culprits behind poor squat…
Read more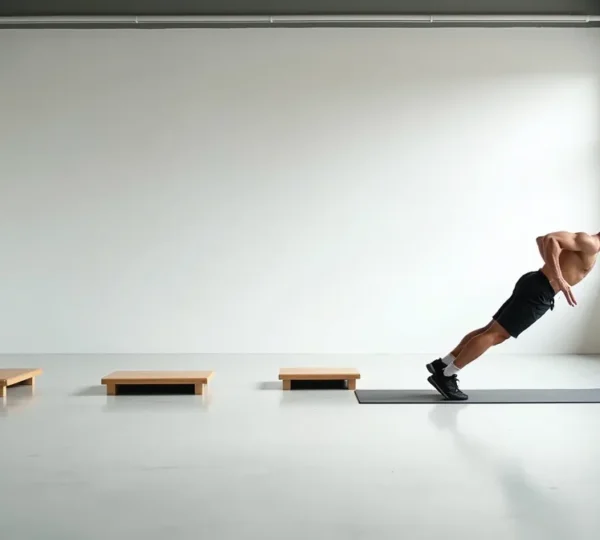
Push-Up Progressions: From Wall Press to One-Arm for Total Chest Development
True push-up mastery isn’t about mindlessly adding reps; it’s about engineering biomechanical tension and neurological control to force growth. Progressive overload in calisthenics is achieved by manipulating leverage and stability, not just adding weight. Correcting common form errors like elbow…
Read more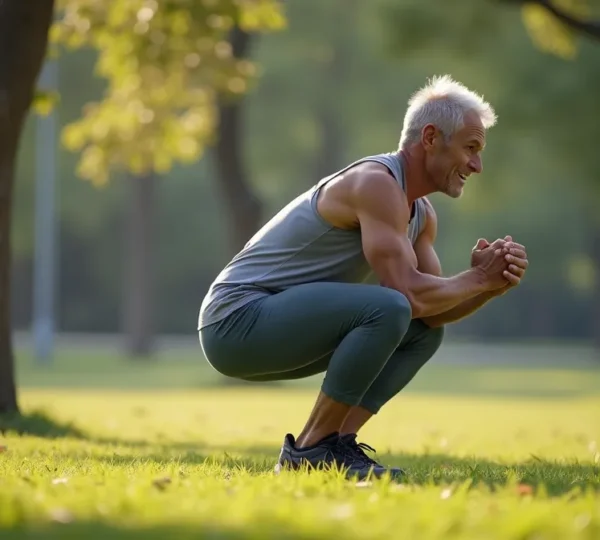
Why Bodyweight Movements Are Safer Than Weights for Beginners Over 40?
Contrary to popular belief, the primary safety benefit of bodyweight training isn’t just avoiding dropped weights; it’s the fundamental re-education of your body’s control systems for lifelong, injury-free movement. Bodyweight exercises force your body to improve proprioception and balance, skills…
Read more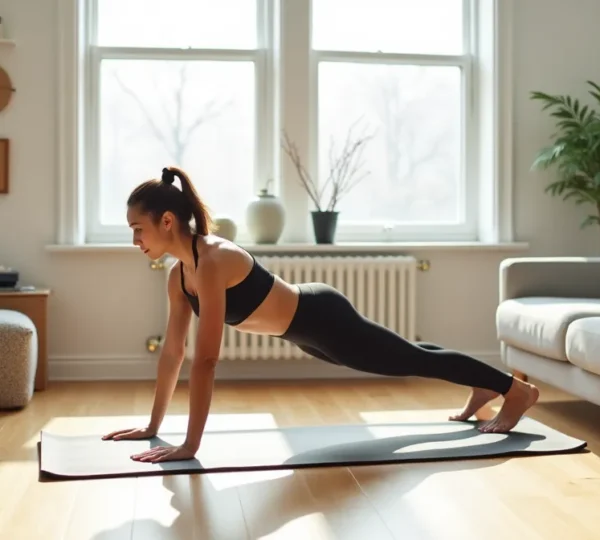
Designing a Home Routine for Small Apartments Without Bulky Equipment
In summary: Building a serious physique in a small space isn’t a compromise; it’s a discipline focused on mastering tension, not just lifting weights. Transform any corner into a high-performance gym in under two minutes by optimizing storage and choosing…
Read more