In summary:
- Your body works harder in the cold due to physiological responses like vasoconstriction, making smart preparation essential.
- A dynamic three-layer system (base, mid, shell) is the key to managing sweat and staying warm during high-output activities.
- Strategic planning for limited daylight and counter-intuitive hydration needs are non-negotiable for safety and performance.
- Overcoming the fear of falling involves learning to fall correctly, a trainable skill that builds immense confidence.
- Consistent morning light exposure is a powerful tool to reset your body clock and maintain mental well-being through the dark months.
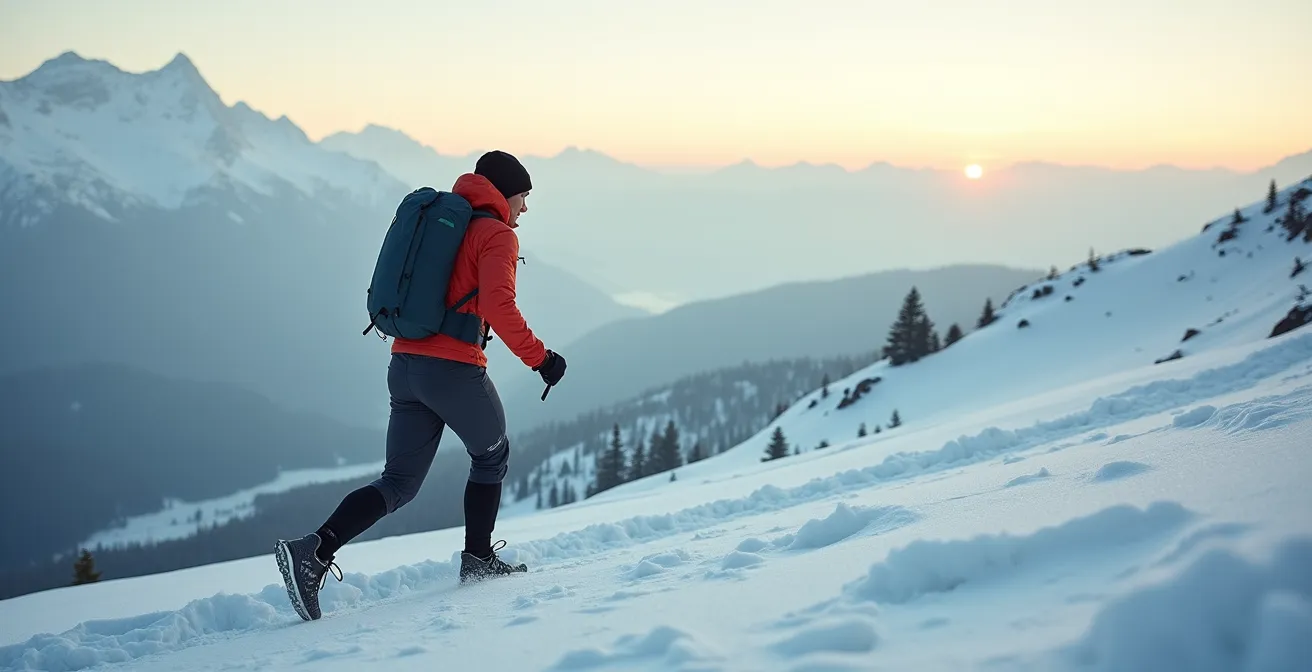
The first blast of frigid air hits your face, a stark reminder that the easy days of shorts and sunshine are over. For any outdoor enthusiast, this seasonal shift can feel like a closing door. The bike starts gathering dust, the running shoes stay by the door, and motivation plummets with the temperature. The common advice is predictable: “just bundle up” or “move your workouts indoors.” But this approach misses the point. It treats winter as an obstacle to be merely endured, not a condition to be mastered.
What if the key wasn’t just wearing more, but thinking smarter? The truth is, high performance in the cold isn’t about accumulating the thickest gear; it’s about understanding and outsmarting the unique physiological traps winter sets for your body. It requires a tactical shift in your approach, turning you from someone who survives the cold into an athlete who thrives in it. This isn’t about brute force; it’s about intelligence and strategy.
This guide is built on that principle. We’re going to dismantle the challenges of winter, piece by piece. We’ll start with the science of why your body reacts the way it does in the cold. Then, we will cover the essential tactics for layering, managing light, hydrating effectively, and even falling safely. Finally, we’ll address the mental game, from resetting your internal clock to conquering the fear that holds so many beginners back. It’s time to stop seeing winter as an ending and start seeing it as a new season to conquer.
This article will guide you through the essential strategies to not just continue your outdoor activities during the colder months, but to excel at them. Below is a summary of the key areas we will explore to transform your winter experience.
Summary: A Guide to Conquering Winter Conditions
- Why Your Heart Rate Increases Faster When Exercising in Freezing Temps?
- How to Layer for High-Output Activities Without Getting Soaked in Sweat?
- Indoor Cycling vs. Winter Riding: Which Maintains Better Bike Handling Skills?
- The Daylight Mistake: Getting Caught on the Trail After Sunset in Autumn
- Hydration in the Cold: Why You Dehydrate Faster When You Don’t Feel Thirsty?
- Why Tensing Up Makes Falls More Dangerous on Ice?
- Morning Light: How to Reset Your Circadian Rhythm While Outdoors?
- Adult Beginners: How to Learn Snow Sports Without Fear of Breaking Bones?
Why Your Heart Rate Increases Faster When Exercising in Freezing Temps?
That feeling of your heart pounding in your chest just minutes into a cold-weather run isn’t your imagination, nor is it a sign that your fitness has vanished overnight. It’s a direct and predictable physiological response to the cold. When exposed to freezing temperatures, your body initiates a process called vasoconstriction, where the blood vessels in your extremities (like your hands and feet) narrow. This is a survival mechanism designed to reduce heat loss and keep your core—where your vital organs are—warm.
However, this life-preserving tactic comes at a metabolic cost. Your heart, the engine of your body, now has to pump blood through a network of narrower pipes to deliver the same amount of oxygen to your working muscles. This requires significantly more effort. Think of it like trying to push the same amount of water through a garden hose that you’ve partially pinched. The pressure and the work required from the pump increase dramatically. This added workload on your cardiovascular system is why your heart rate spikes more quickly and feels more intense for the same perceived effort compared to exercising in milder weather.
This effect is well-documented. For instance, a study on individuals with coronary artery disease exercising at -15°C (5°F) revealed the powerful impact of cold. An analysis of cardiovascular responses during cold exercise showed that factors like heart rate and blood pressure were synergistically increased compared to the same exercise in neutral temperatures. While this study focused on a specific population, the underlying principle applies to all athletes: your body works harder just to stay warm, leaving fewer resources for performance.
Recognizing this isn’t a sign of weakness but a fundamental aspect of winter athletics allows you to adjust your expectations. You might not hit the same paces or power outputs, and that’s okay. The goal is to train smart, listen to your body, and manage the increased physiological stress effectively.
How to Layer for High-Output Activities Without Getting Soaked in Sweat?
The biggest mistake in winter exercise isn’t under-dressing; it’s over-dressing. Starting your workout feeling warm and cozy is a recipe for disaster. Within ten minutes, you’ll be sweating profusely. That moisture gets trapped in your clothes, and as soon as you slow down or stop, the cold air turns that sweat into a personal refrigeration unit, chilling you to the bone and increasing your risk of hypothermia. The solution is not a single, thick jacket but a smart, dynamic layering system designed for thermal regulation.
The system consists of three distinct layers that work together to manage moisture and trap heat. First is the base layer, worn against your skin. Its sole job is to wick sweat away from your body. Look for synthetic materials like polyester or natural fibers like merino wool. Cotton is your worst enemy here; it absorbs moisture and holds it against you. Second is the mid-layer, which is your insulation. This layer traps your body heat. Fleece or a lightweight down or synthetic puffy jacket are excellent options. Crucially, this layer should be easy to remove and stow away as you warm up. Finally, the outer shell is your protection from the elements. It should be wind-proof and waterproof or water-resistant, shielding you from wind, snow, and rain while still allowing some moisture vapor from your sweat to escape.
This layering strategy is complemented by the most important rule of winter workouts: start cold. You should feel chilly, almost uncomfortably so, for the first five to ten minutes of your activity. This initial discomfort is a sign you’ve dressed correctly. As your body generates heat, you’ll reach a perfect thermal equilibrium. Accessories like a hat, gloves, and a neck gaiter are your micro-adjustment tools, easy to take off or put on to fine-tune your temperature on the fly.

As this visualization shows, each layer has a distinct function, from pulling moisture off the skin to blocking wind. Mastering this system means you can add or shed layers to maintain a comfortable, dry microclimate, regardless of how hard you’re working or how much the weather changes. This proactive heat management is the single most important skill for winter endurance.
It transforms your clothing from a static barrier into an interactive system you control, giving you the power to stay comfortable and safe no matter what the winter throws at you.
Indoor Cycling vs. Winter Riding: Which Maintains Better Bike Handling Skills?
When the snow flies, the temptation to retreat to the basement and grind out miles on an indoor trainer is strong. It’s safe, efficient, and allows for highly structured, high-intensity workouts. For pure cardiovascular fitness maintenance, the indoor trainer is an undeniably powerful tool. However, it comes with a hidden cost that many cyclists only discover when they hit the roads again in spring: the degradation of bike handling skills, a concept known as proprioceptive decay.
Proprioception is your body’s sense of its position in space. On a bike, it’s the constant, subconscious micro-adjustments you make to balance, steer, and react to the road surface. An indoor trainer, by locking your bike in a static position, completely removes this element. You are no longer balancing; you are simply pedaling. Over a long winter, this lack of practice causes those finely tuned neural pathways to weaken. Your ability to corner smoothly, react to a sudden obstacle, or maintain a straight line in a crosswind can be noticeably diminished.
Riding outdoors in winter, even just once or twice a week, forces you to keep these skills sharp. You’re constantly adjusting your weight for traction on slick spots, feathering your brakes, and navigating imperfect road conditions. This isn’t just about preventing skill loss; it’s about building new, more advanced skills. Learning to handle a bike on low-traction surfaces makes you a far more confident and capable rider when conditions are perfect.
This paragraph introduces the following table, which breaks down the trade-offs between indoor and outdoor winter cycling, drawing from insights found in a comprehensive guide to winter training.
| Aspect | Indoor Cycling | Outdoor Winter Riding |
|---|---|---|
| Bike Handling Skills | Degrades over time | Maintains and improves micro-skills |
| Fitness Maintenance | Excellent for structured intervals | Good for endurance, harder for high intensity |
| Safety | Zero crash risk | Increased risk on ice/snow |
| Skill Development | None | Low-traction handling, weight distribution |
| Mental Toughness | Limited | Significantly improved |
A balanced approach is often best. Use the indoor trainer for your high-intensity, time-crunched workouts. But make a point to get outside, even for shorter, less intense rides, to keep your handling skills and mental resilience sharp. That way, when spring arrives, you’ll have not just the engine, but also the chassis to perform at your best.
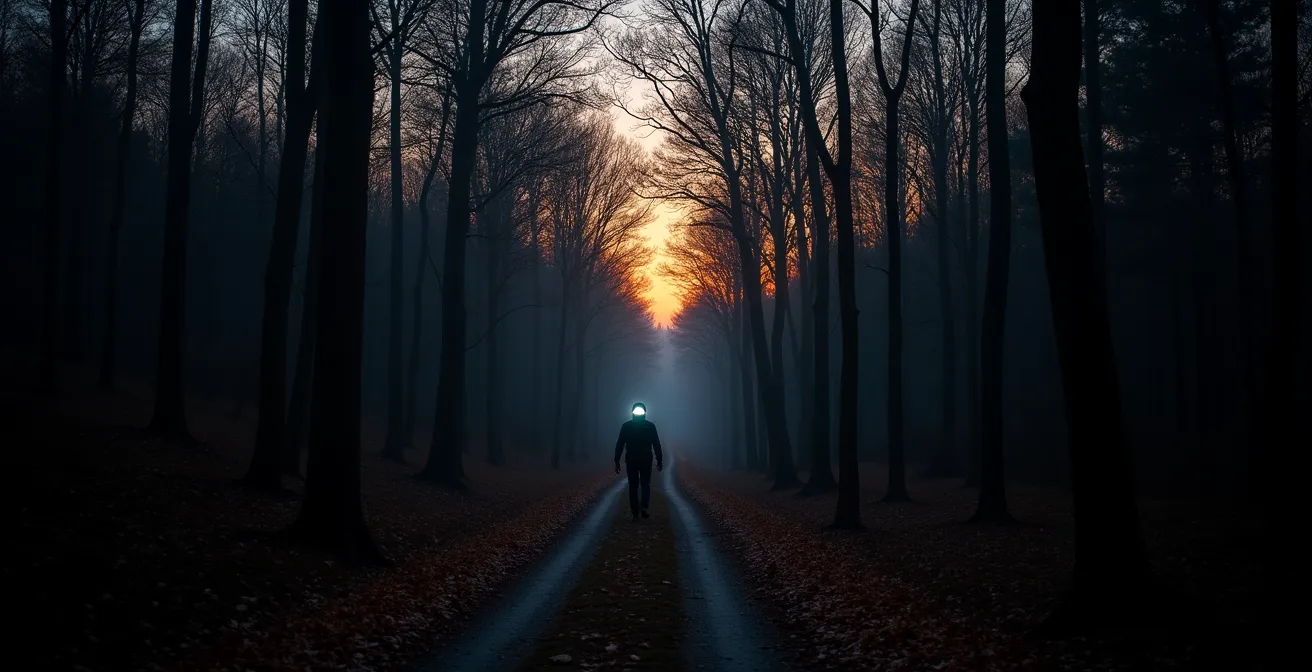
The Daylight Mistake: Getting Caught on the Trail After Sunset in Autumn
In autumn and winter, the sun doesn’t just set; it plummets. The most common daylight mistake isn’t leaving for a run or hike too late, but failing to account for the “canopy effect.” On a trail surrounded by trees, the effective sunset happens 30 to 45 minutes before the official sunset time. The moment the sun dips below the treeline, the forest floor is plunged into a deep twilight that can quickly turn to pitch black, disorienting even experienced trail users. Being caught unprepared isn’t just an inconvenience; it can be a serious safety risk.
Relying on a single, weak headlamp or, worse, just a phone flashlight, is a recipe for a slow, treacherous journey out. A smart athlete adopts a tiered lighting system to be prepared for any eventuality. This isn’t about carrying a massive spotlight, but about having redundant, appropriate levels of light for different situations. This strategy ensures you can both see and be seen as the light fades.
Even more critical than carrying the right gear is having a non-negotiable turnaround plan. A time-tested rule from mountaineering is easily adapted for any trail user. To avoid getting caught by darkness, you must know your absolute latest turnaround time before you even start. This simple calculation prevents wishful thinking and enforces discipline when the allure of “just one more mile” is strongest.
Your Action Plan: Tiered Lighting for Trail Safety
- Tier 1 (Visibility): Start by wearing reflective gear and using “to-be-seen” blinky lights. These are for dusk conditions when you need cars and other people to see you, even if you can still see the trail perfectly well.
- Tier 2 (Navigation): Carry a primary headlamp with a minimum of 300 lumens. This is the minimum power needed to adequately illuminate a technical trail, allowing you to identify roots, rocks, and turns at a normal pace.
- Tier 3 (Emergency): Always pack a lightweight backup light source. This could be a tiny keychain light, a spare headlamp, or a fully charged power bank for your primary light. This is your lifeline if your main light fails.
- Turnaround Time: Apply the Mountaineer’s Turnaround Formula. Calculate your total usable daylight (e.g., 8 hours). Divide it by two (4 hours). Subtract a 30-minute safety buffer. Your non-negotiable turnaround time is 3.5 hours after you start.
- Communication: Always carry your fully charged cell phone. It’s your primary tool for calling for help in an emergency, but don’t rely on its flashlight for navigation.
By combining a strategic lighting system with a disciplined turnaround plan, you transform darkness from an unknown threat into a predictable variable that you can manage with confidence.
Hydration in the Cold: Why You Dehydrate Faster When You Don’t Feel Thirsty?
One of the most insidious physiological traps of winter is dehydration. In the cold, your body’s thirst mechanism is significantly suppressed. You simply don’t feel thirsty, even when your body is losing a substantial amount of fluid. This creates a dangerous gap between your actual hydration needs and your perceived need to drink. There are two primary culprits behind this accelerated, unperceived fluid loss: respiratory water loss and cold-induced diuresis.
Every breath you take in cold, dry air requires your body to warm and humidify that air before it reaches your lungs. When you exhale, that warmed, moisture-saturated air is expelled into the atmosphere—a visible puff of “steam.” That steam is water leaving your body. The harder you breathe, the more water you lose. In fact, physiological research shows that minute ventilation substantially increases upon initial cold exposure, meaning you breathe more frequently and lose more water just by being in the cold. Compounding this is cold-induced diuresis, a process where the vasoconstriction in your extremities tricks your brain into thinking you have excess fluid volume, triggering your kidneys to produce more urine. You’re losing water through both respiration and urination, all while your brain is telling you you’re not thirsty.
Because you can’t rely on thirst, you must adopt a proactive, disciplined hydration strategy. This means drinking on a schedule, not based on feeling. The goal is to consistently replace the fluids you are inevitably losing. This requires planning, from the type of fluid you bring to how you keep it from freezing.
- Drink on a schedule: Set a timer and consume about 150-200ml (5-7 oz) of fluid every 20 minutes, regardless of thirst.
- Start warm: Fill an insulated flask with a warm electrolyte drink. This not only helps with hydration but also provides a small, welcome bit of core warmth.
- Prevent freezing: If using a hydration pack, wear it under your jacket to keep the reservoir from freezing. After drinking from the tube, blow air back into it to clear the line and prevent the bite valve from freezing solid.
- Monitor output: Since thirst is an unreliable indicator, pay attention to your urine color. A pale yellow color indicates good hydration, while a dark yellow or apple-juice color is a clear sign you need to drink more.
Ignoring hydration in the winter doesn’t just impair performance; it accelerates fatigue and increases your risk of cold-related injuries like frostbite. A disciplined hydration plan is as essential as a good jacket.
Why Tensing Up Makes Falls More Dangerous on Ice?
A slip on an icy patch is instantaneous. In that split second, your natural instinct is to flail your arms and tense your entire body to brace for impact. It feels like the right thing to do, but it’s precisely this reaction that turns a minor slip into a major injury, like a broken wrist or a fractured hip. The physics of impact are unforgiving: a tensed, rigid body concentrates the entire force of the fall onto a single, small point of contact.
Imagine dropping a glass plate onto concrete versus a rubber ball. The rigid plate shatters because the force has nowhere to go. The flexible ball bounces because it deforms, distributing the force over a larger area and a longer period. When you tense up and stick an arm out—the classic “FOOSH” (Fall On an Outstretched Hand) injury—your wrist and elbow become the single impact point for your entire body weight, multiplied by the force of gravity. This is how bones break. A relaxed body, in contrast, allows for a rolling motion. Analysis of the physics of impact dissipation in winter sports shows that this rolling distributes the force across larger, fleshier parts of your body (like your thigh, buttocks, and shoulder), dramatically reducing the peak force on any single point.
Overcoming this dangerous instinct requires retraining your brain to execute a “breakfall reflex.” This concept, borrowed from martial arts like Judo and Aikido, involves practicing how to fall safely until it becomes second nature. It’s about turning a panicked reaction into a controlled, practiced skill. By learning to tuck, roll, and absorb impact correctly, you transform falling from a terrifying event into a manageable one.
- Practice on soft surfaces: Start by practicing these techniques on gym mats or into a soft snowbank to build muscle memory without fear of injury.
- Tuck your chin: The most important rule is to protect your head. Tuck your chin to your chest immediately upon losing balance to prevent your head from snapping back and hitting the ground.
- Exhale on impact: Forcefully exhale as you land. This tenses your core, protecting your internal organs and preventing the wind from being knocked out of you.
- Land on muscle, not bone: Aim to land on the fleshy parts of your body—buttocks, side of the thigh, and the back of your shoulder.
- Keep arms bent: Never, ever try to catch yourself with straight, locked arms. Keep your elbows bent and your arms close to your body to help initiate a roll.
- Roll with it: Do not fight the momentum. Go with the direction of the fall and allow your body to roll, dissipating the energy of the impact across the ground.
Learning how to fall is one of the most empowering skills a winter athlete can develop. It removes a massive layer of fear, allowing you to move with more confidence and fluidity on uncertain terrain, whether you’re running on an icy path or learning to ski.
Key Takeaways
- Mastering your physiology is non-negotiable. Understanding how your body reacts to cold regarding heart rate, sweat, and thirst allows you to create effective strategies for layering and hydration.
- Strategy trumps gear. Having a disciplined turnaround plan for darkness and knowing how to fall correctly are more critical for safety than owning the most expensive equipment.
- Consistency through outdoor exposure is key. Maintaining some outdoor activity, even if brief, preserves sport-specific skills and provides the necessary light exposure to support your mental well-being through winter.
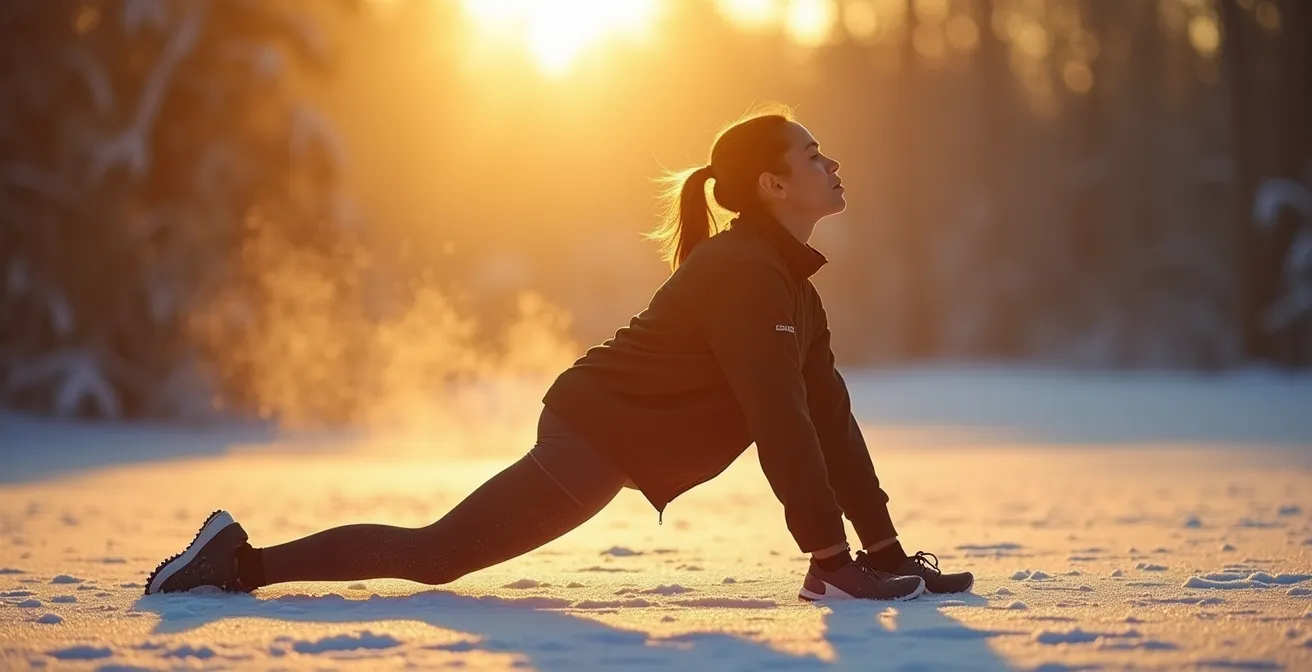
Morning Light: How to Reset Your Circadian Rhythm While Outdoors?
The physical challenges of winter are obvious, but the mental and biological toll of short, dark days can be just as debilitating. The lack of natural light can disrupt your circadian rhythm—your body’s internal 24-hour clock—leading to low energy, poor sleep, and for some, Seasonal Affective Disorder (SAD). Many people turn to artificial light boxes, but the most powerful and accessible tool for resetting your clock is right outside your door: morning sunlight.
Getting light exposure within the first hour of waking is crucial. The blue light frequencies present in morning light, even on an overcast day, send a powerful signal to the suprachiasmatic nucleus in your brain, effectively telling your body “the day has begun.” This anchors your entire circadian cycle, helping to regulate hormone production (like cortisol for wakefulness and melatonin for sleep) throughout the day. The result is more energy in the morning, better mood throughout the day, and improved sleep quality at night.
The good news is that it doesn’t take much. You don’t need to embark on an epic workout at dawn. According to sports science research, even a minimum of 15 minutes of daily outdoor exposure is enough to provide significant vitamin D and mood benefits. Combining this light exposure with gentle movement can amplify the positive effects. A simple protocol can make this a consistent and powerful part of your winter routine.
Your Action Plan: The 20-Minute Morning Light Protocol
- Get Out Early: Make it a priority to get outdoors within the first 60 minutes of waking up. Consistency is more important than intensity.
- Face the Sky: You don’t need to stare directly at the sun. Simply facing the general direction of the brightest part of the sky is effective. This works even on cloudy days, as a significant amount of the necessary light penetrates the cloud cover.
- Combine with Movement: Pair your light exposure with light activity. This could be a brisk walk with the dog, some dynamic stretching, or an easy jog. This helps kickstart your metabolism and wake up your body.
- Remove Sunglasses: For this specific purpose, take off your sunglasses (do not stare at the sun). The light needs to reach the photosensitive cells in your retina to send the right signals to your brain.
- Maintain Consistency: The real benefit comes from making this a daily habit. Doing it at roughly the same time each morning creates a strong, stable anchor for your circadian rhythm.
This simple, non-negotiable morning ritual can be one of the most effective strategies for combating the winter blues, keeping your energy levels high, and maintaining the motivation you need to keep getting outside.
Adult Beginners: How to Learn Snow Sports Without Fear of Breaking Bones?
For an adult, the idea of learning a new snow sport like skiing or snowboarding can be terrifying. Unlike children who seem to be made of rubber, adults are acutely aware of their own fragility. The fear of a serious fall, of breaking a bone, is often the single biggest barrier to entry. This fear leads to tension, and as we’ve learned, tension is what makes falls dangerous. The key to learning as an adult is not to avoid falling, but to systematically build confidence and skills in a way that makes falling a low-consequence event.
This starts with choosing the right entry point. Instead of going straight to a steep downhill slope, a progression-based approach can work wonders. Research shows that adults who begin with less intimidating activities like snowshoeing or flat-ground cross-country skiing before attempting downhill sports demonstrate 60% better balance and confidence on slopes, with significantly lower injury rates. These activities allow you to get comfortable with the sensation of sliding on snow and develop foundational balance in a controlled environment where the risk of a high-speed fall is virtually zero.
When you do move to downhill sports, investing in a professional lesson is non-negotiable. But your goal in that first lesson shouldn’t be to learn how to carve perfect turns. As former U.S. Ski Team member Reggie Crist notes, the instructor’s true value lies elsewhere. In the Men’s Journal Winter Sports Training Guide, he states:
A good instructor’s primary job isn’t just to teach you to turn, but to teach you how to control speed and how to fall safely.
– Reggie Crist, Men’s Journal Winter Sports Training Guide
This is the secret. The first skills you should master are how to slow down, how to stop on demand (the “pizza” or wedge in skiing), and how to execute a controlled fall. Once you know, with absolute certainty, that you can control your speed and that you know how to fall without getting hurt, the fear evaporates. Without fear, your body can relax. And a relaxed body is one that can learn, adapt, and truly enjoy the feeling of gliding over snow.
Stop letting the calendar dictate your passion. The cold is just a condition, and the darkness is just a variable. With the right knowledge and a tactical approach, you have the power to manage both. Take these strategies, gear up with intelligence, and reclaim your winter, one smart, confident step at a time.