
Contrary to popular belief, lower back pain from cycling is not a sign of weakness but a signal of a biomechanical system failure.
- Incorrect component setup (saddle, stem) forces your body into compensatory patterns that overload lumbar muscles.
- Off-bike habits, like desk work and phone use, create neuromuscular dysfunctions that directly translate to poor on-bike posture.
Recommendation: Stop trying to ‘toughen up’ and start treating your body and bike as an interconnected system that requires precise, analytical adjustment.
That familiar, burning ache in your lower back creeps in around mile 20. The common advice echoes in your mind: “You just need to get stronger,” “Toughen up,” “Your core is weak.” Many cyclists accept this pain as a necessary evil, a rite of passage for building endurance. They try to power through, believing it’s a matter of fitness, not physics. They might tinker with their saddle height or buy a new stem, but the approach is often one of guesswork, treating isolated symptoms rather than the root cause.
This perspective is fundamentally flawed. Lower back pain is not a badge of honor or a sign you need more grit. It is a specific, mechanical signal. Your body is telling you that the integrated system—the complex machine formed by you and your bicycle—is operating outside its optimal parameters. Pain is data. It indicates that a component somewhere in the kinetic chain, from your feet on the pedals to your hands on the bars, is misaligned, forcing other parts of your body into a state of compensatory strain. The lower back, often the victim and rarely the culprit, is simply screaming the loudest.
But what if the key wasn’t forcing your body to adapt to the bike, but precisely tuning the bike to respect your body’s mechanics? This guide abandons the “toughen up” mentality. Instead, we will adopt the corrective, anatomical lens of a professional bike fitter. We will dissect the kinetic chain to understand how a few millimeters of adjustment at your saddle or cleats can eliminate the strain patterns that cause your pain. We will explore how off-bike habits create dysfunctional neuromuscular patterns that sabotage your ride, and how borrowing techniques from other disciplines can fundamentally change your relationship with the bike.
To navigate this biomechanical deep dive, this article is structured to diagnose the problem from the ground up. We will examine each critical contact point and muscular system, explaining not just what to change, but precisely why it matters, allowing you to interpret your body’s signals and make informed adjustments.
Summary: A Bike Fitter’s Analysis of Lower Back Pain
- Why a Saddle That Is Too High Causes Hip Rocking and Knee Pain?
- How to Change Stem Length to Relieve Neck Tension?
- App-Based Fitting vs. Laser Analysis: Is the $300 Cost Justified?
- The Hamstring Constraint: Why You Cannot Hold an Aero Position?
- Cleat Alignment: How Millimeters Change Power Transfer?
- Why Looking Down at Your Phone Doubles the Pressure on Your Cervical Spine?
- Why Running Might Worsen Hip Tightness for Desk Workers?
- Road vs. MTB: How Mountain Biking Handling Skills Save Road Cyclists from Crashes?
Why a Saddle That Is Too High Causes Hip Rocking and Knee Pain?
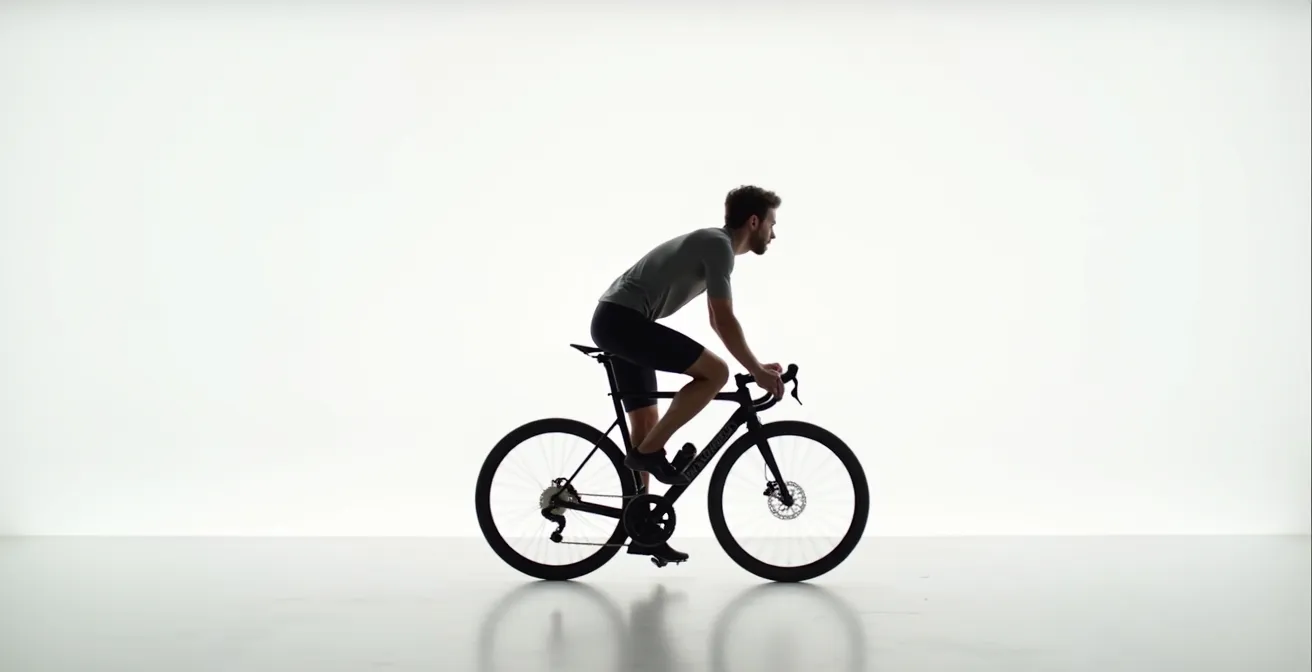
The most common error in bike setup is incorrect saddle height, and a saddle that is too high is a primary cause of lower back pain. When the saddle is elevated beyond your functional leg length, your pelvis is forced to rock side-to-side with each pedal stroke. You are literally “reaching” for the bottom of the stroke. This rocking motion isn’t just inefficient; it’s a direct stressor on the lumbar spine and its supporting muscles, like the Quadratus Lumborum (QL). Over thousands of repetitions, this subtle instability leads to muscular fatigue, inflammation, and the signature deep ache in your lower back.
The issue is one of a collapsing kinetic chain. Your body’s goal is to maintain contact with the pedal. If the leg cannot extend far enough, the hip on that side will drop to compensate. This action pulls on the lower back. The magnitude of this effect is not trivial; biomechanical research shows that even a small miscalculation has an outsized impact on your joints. A study published in a leading sports medicine journal found that a 5% change in saddle height can alter knee joint kinematics by as much as 35%. This demonstrates how a single incorrect parameter creates a cascade of compensatory strain throughout the lower body.
The goal is to find a height that allows for a slight knee bend (25-30 degrees) at the bottom of the pedal stroke (6 o’clock position). This position enables your glutes and quadriceps to function as the primary power generators, while keeping your pelvis stable on the saddle. A stable pelvis is the foundation of a pain-free, powerful posture. Any visible side-to-side hip movement in a cyclist riding behind you is a clear signal that their saddle is too high and their lower back is paying the price.
How to Change Stem Length to Relieve Neck Tension?
While neck tension seems like a localized issue, it is frequently a symptom of a larger systemic imbalance originating from the saddle position. Cyclists suffering from neck and shoulder pain often assume their reach to the handlebars is too long and rush to install a shorter stem. While a stem that is too long can certainly cause over-reaching and strain on the trapezius and cervical spine, a shorter stem is not a universal cure. In fact, it can sometimes worsen the problem if the root cause is poor weight distribution.
Consider the body as a lever system. If your saddle is positioned too far back or incorrectly tilted, it can place excessive weight on your sit bones and not enough on your hands, or vice-versa. A professional bike fitter, Dr. Kim Tofaute, handled a case where a rider’s numb hands and neck pain were not resolved by stem adjustments alone. The true solution was a 2.5cm correction in saddle height that fundamentally redistributed the rider’s weight, taking pressure off the upper body. This illustrates a core principle of bike fitting: address the foundation (saddle) before modifying the controls (handlebars).
The correct stem length creates a comfortable reach where your arms are slightly bent, your shoulders are relaxed (not hunched), and your spine can maintain a relatively neutral position. If your stem is too short, it can cramp your chest, round your upper back, and force your head into a hyper-extended position to see down the road. If it’s too long, it will pull you forward, straining your hamstrings, lower back, and triceps. The key is to see stem length not as an isolated fix for neck pain, but as the final tuning component after establishing a stable pelvic foundation on the saddle.
App-Based Fitting vs. Laser Analysis: Is the $300 Cost Justified?
With the rise of technology, cyclists now have options ranging from free smartphone apps to professional 3D motion-capture sessions costing several hundred dollars. An app-based fit, like MyVeloFit, uses your phone’s camera to analyze your riding position and suggest adjustments based on joint angles. For many riders with standard biomechanics, these tools can provide significant improvements over a basic setup by identifying gross errors in saddle height or reach. They are an excellent, cost-effective starting point for moving beyond guesswork.
However, the primary limitation of most automated systems is their assumption of perfect symmetry. As professional fitter and MyVeloFit CEO Jesse Jarjour notes, these tools have limitations. In a discussion with Cycling Weekly, he highlighted the critical difference a human expert makes:
Apps assume perfect symmetry, whereas a fitter uses tools to identify and address functional leg length discrepancies, pelvic rotations, or muscle imbalances—the hidden root causes of persistent, one-sided back pain.
– Jesse Jarjour, MyVeloFit CEO and Professional Bike Fitter
A professional fitting, using laser analysis or 3D motion capture, provides a dynamic view of your body in motion. It can detect subtle but critical asymmetries: a hip that drops on one side, a knee that tracks inward, or an ankle that collapses during the pedal stroke. These are the functional asymmetries that an app cannot see, and they are often the true source of stubborn, one-sided pain. The $300 investment is justified when you are dealing with chronic pain that persists despite your own adjustments, or if you know you have a pre-existing imbalance (like a leg length discrepancy).
| Method | Cost | Accuracy | Dynamic Analysis | Asymmetry Detection |
|---|---|---|---|---|
| MyVeloFit App | $35-75 | AI-based angles | Limited | No |
| Professional Fitting | $200-300 | 3D motion capture | Yes | Yes |
| Laser Analysis | $250-500 | Precise measurements | Yes | Yes |
| Basic Apps | $5-25 | Static photos only | No | No |
The Hamstring Constraint: Why You Cannot Hold an Aero Position?
The desire to achieve a low, aerodynamic position is common, but for many, it results in immediate lower back pain. The culprit is often not a “weak core” but tight hamstrings. When you hinge forward at the hips, your hamstrings lengthen. If they are tight, they reach their limit and begin to pull on their attachment point at the ischial tuberosity (sit bones). To relieve this tension, the body’s natural compensation is to rotate the pelvis backward (posterior pelvic tilt). This flattens or even rounds the lumbar spine, placing it in a weak, unsupported position and loading the spinal erector muscles, leading directly to pain.
Interestingly, simply “stretching your hamstrings” is an incomplete and sometimes counter-productive solution. A fascinating 2024 study found that greater hamstring flexibility can actually increase anterior pelvic tilt pressure by up to 23% in some cyclists. This highlights a more complex issue: it’s not just about flexibility, but about muscular control and activation patterns. The problem is often a neuromuscular one, where overactive hamstrings and hip flexors dominate, while the powerful gluteal muscles remain under-utilized. This phenomenon, known as reciprocal inhibition, means your brain is effectively “turning off” your glutes.
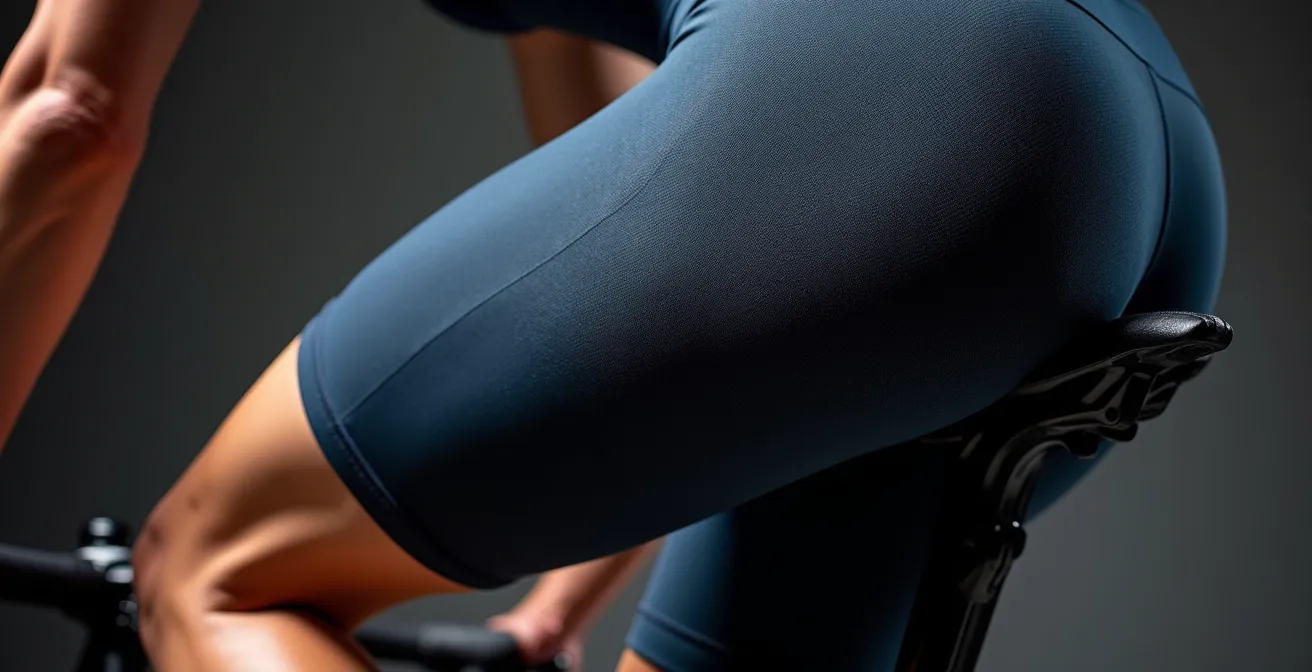
The solution is not just passive stretching, but a targeted neuromuscular activation protocol. You must train your brain to fire your glutes as the primary hip extensors, which allows the hamstrings to relax into a supporting role. By activating the glutes before a ride, you re-establish the correct firing sequence, stabilize the pelvis, and enable a healthy forward hip hinge without rounding the lower back.
Your Pre-Ride Neuromuscular Activation Plan
- Glute Isolation: Lie prone, bend one knee to 90°, and perform 10 gentle glute pulses to establish the initial mind-muscle connection.
- Positional Firing: Use a Swiss ball or chair to mimic your cycling hip angle and practice isometric glute contractions without hamstring engagement.
- Movement Patterning: Practice the hip hinge movement standing, focusing on rotating the pelvis forward while keeping a neutral spine.
- Dynamic Stabilization: Perform bird-dog progressions, moving diagonally opposite arm and leg to mimic the pedal stroke’s cross-body stability demands.
- Final Activation: Immediately before riding, complete 2-3 minutes of glute bridges to ensure the neural pathways are primed and ready.
Cleat Alignment: How Millimeters Change Power Transfer?
The interface between your shoe and pedal is the foundation of your entire kinetic chain. Yet, cleat alignment is the most overlooked aspect of a bike fit. An error of just a few millimeters or degrees here can transmit dysfunctional forces up through the ankle, knee, hip, and ultimately manifest as pain in the lower back. The goal of cleat setup is to allow your foot to follow its natural path and to ensure your knee tracks vertically over your pedal spindle, creating a stable, efficient line of force from your hip to the pedal.
When cleat rotation is incorrect, it can force your foot into an unnatural angle. This torque doesn’t vanish; it’s transferred to the next joint up the chain, the knee. The knee, in turn, may deviate inwards or outwards to compensate, causing the hip to become unstable. This instability requires the muscles of the lower back and core to work overtime just to keep your pelvis from rocking, leading to fatigue and pain. The position of the cleat fore/aft is also critical. Placing it directly under the ball of the foot (the first metatarsal head) creates the most stable and powerful lever for pedaling.
This is where professional fitters prove their value, especially in cases of functional leg length discrepancy. One case study involved a cyclist with persistent, one-sided back pain. A fitter identified a 3mm functional discrepancy, which was causing one hip to drop significantly at the bottom of the pedal stroke. By adding a simple 3mm shim under the shorter leg’s cleat and adjusting rotation by 2 degrees, the hip rock was eliminated. The rider’s chronic back pain, which had persisted for over a year, completely resolved within two weeks. This is a powerful demonstration of how a micro-adjustment at the foot can solve a macro problem at the back.
Why Looking Down at Your Phone Doubles the Pressure on Your Cervical Spine?
Your posture on the bike is not created in a vacuum. It is the product of the neuromuscular patterns you practice every hour of the day. The most pervasive modern posture is “tech neck”—the forward-head, rounded-shoulder position we adopt while looking at phones, tablets, and computer screens. This off-bike habit has a direct and detrimental effect on your on-bike comfort and performance, particularly for your back and neck.
The biomechanics are unforgiving. Your head is heavy, weighing approximately 10-12 pounds. When your ears are aligned over your shoulders, your spine is in a neutral, strong position. However, biomechanical research demonstrates that for every inch of forward head posture, you add an additional 10 pounds of effective stress on your cervical spine. A typical 2-3 inches of forward posture while texting means your neck is supporting the equivalent of a 30-40 pound weight. This chronic load weakens the deep cervical flexors in the front of your neck and over-stretches and strains the muscles in the back of your neck and upper back.
This “trained” posture doesn’t magically disappear when you get on your bike. As Dr. Heather K. Vincent of the UF Orthopaedics and Sports Medicine Institute explains, your body defaults to its habits.
Phone use trains the body into a forward-head, rounded-thoracic-spine position. When you get on the bike, your body reverts to this ‘trained’ dysfunctional pattern.
– Dr. Heather K. Vincent, UF Orthopaedics and Sports Medicine Institute
This creates a double jeopardy. You start with a rounded thoracic spine, which inhibits your ability to hinge properly at the hips, forcing more flexion from your lumbar spine. Simultaneously, to see the road from this slouched position, you must hyper-extend your already-strained neck. The result is a cascade of pain from your lower back all the way to the base of your skull, a problem that no amount of on-bike adjustment can fully solve without addressing the off-bike postural habit.
Why Running Might Worsen Hip Tightness for Desk Workers?
For the time-crunched athlete, combining cycling with running seems like an efficient way to build cardiovascular fitness. However, for the typical desk worker, this combination can create a “double whammy” effect that directly leads to lower back pain on the bike. The root of the problem lies in the hip flexors, a group of muscles that become chronically shortened and tight from prolonged sitting.
When a desk worker with tight hip flexors goes for a run, the repetitive motion of running further tightens those already-shortened muscles without proportionally strengthening the opposing muscle group: the glutes. This exacerbates an existing anterior pelvic tilt, where the front of the pelvis is pulled downward. This dysfunctional pattern then transfers directly to the bike. When you try to adopt a cycling position, your tilted pelvis forces your lumbar spine into a state of hyperextension to compensate, creating significant pressure and strain on the lower back vertebrae and muscles.
The neurological component is just as important. As we’ve discussed, tight hip flexors can cause reciprocal inhibition, effectively deactivating your glutes. This forces your body to rely on the hamstrings and lower back muscles as the primary drivers of the pedal stroke—muscles that are not designed for that role and fatigue quickly. An athlete in one case study who combined running and cycling developed severe back pain for this very reason. The solution was not to stop all activity, but to reduce running volume while implementing a targeted routine of hip flexor stretches and, crucially, glute activation drills. By restoring the balance between the front and back of the hips, the cyclist was able to ride pain-free within four weeks.
Key Takeaways
- Lower back pain is a signal of biomechanical failure, not personal weakness. Address it with analysis, not just grit.
- Your body and bike form an interconnected system; a small error at the foot (cleat) or sit bones (saddle) causes a cascade of compensatory strain that manifests in the back.
- Off-bike posture and activities program your on-bike neuromuscular patterns. Pain on the bike often starts at your desk or with your phone.
Road vs. MTB: How Mountain Biking Handling Skills Save Road Cyclists from Crashes?
While road cycling often encourages a static, locked-in posture, mountain biking demands a dynamic and active approach to handling terrain. This “attack position” philosophy holds a profound lesson for any road cyclist suffering from back pain. It teaches a way of supporting body weight with engaged muscles rather than passively hanging on a stressed skeleton. This is the ultimate antidote to the “toughen up” mentality—it’s about getting smarter, not just harder.
As former pro mountain biker Simon Lawton explains, the core of this is the hip hinge. The MTB ‘attack position’ involves standing on the pedals with bent knees and elbows, chest up, and hinging at the hips with a neutral spine. This posture forces engagement from the glutes, hamstrings, and core to support the upper body, turning the arms and legs into active suspension. A road cyclist, by contrast, often locks their elbows and rounds their back, placing their body weight directly onto the handlebars and their spine into a compromised, flexed position.
A road cyclist can adopt this mindset without ever touching a trail. By practicing the “ready position” on the road—lightly hovering over the saddle with bent elbows and knees—you train the correct hip hinge pattern. By consciously using your arms and legs to absorb road buzz instead of letting it travel up your rigid spine, you reduce cumulative fatigue. By learning to shift your weight dynamically for corners and descents instead of remaining static, you engage your core and improve stability. This active approach does more than just prevent crashes; it builds the exact neuromuscular patterns needed to support a healthy, pain-free posture for long hours in the saddle.
Frequently Asked Questions on Bike Fit Ergonomics
Should I stretch my hip flexors before or after cycling?
Dynamic hip flexor stretches should be done pre-ride to activate muscles and increase range of motion. Static holds and deeper stretches are best saved for post-ride recovery to restore tissue length.
How do tight hip flexors affect my cycling power?
Tight hip flexors neurologically ‘turn off’ the gluteus maximus through reciprocal inhibition, forcing your body to rely on weaker hamstrings and lower back muscles as primary movers, leading to rapid fatigue.
What’s the best single stretch for desk workers who cycle?
The knight to hamstring stretch (low lunge with back knee down, then straightening front leg) effectively targets both hip flexors and hamstrings in one movement, addressing the two main problem areas for desk workers.