True push-up mastery isn’t about mindlessly adding reps; it’s about engineering biomechanical tension and neurological control to force growth.
- Progressive overload in calisthenics is achieved by manipulating leverage and stability, not just adding weight.
- Correcting common form errors like elbow flare is more critical for shoulder health and strength gains than increasing volume.
Recommendation: Stop treating the push-up as a basic exercise and start deconstructing it as a technical skill. Focus on one progression at a time, mastering the form before attempting more reps.
You’ve hit a wall. Your push-up count has stalled, and your chest development is lagging. You see others in the gym mindlessly bench pressing, and you’re told that’s the only path to a powerful physique. This common advice overlooks a fundamental truth: the push-up, when treated as a technical skill rather than a simple rep-counting exercise, is a superior tool for building functional strength and a well-developed chest. It demands total-body tension, stabilizing strength, and a level of control that a fixed-path bench press simply cannot replicate.
The standard approach suggests you just need to “do more” or jump from knee push-ups to full ones. This is a recipe for frustration and injury. The real key to unlocking your potential lies not in brute force, but in a systematic, engineered progression. It’s about understanding the biomechanics of leverage, the neurology of strength, and the precise muscular recruitment of each variation. This is not about just getting stronger; it’s about becoming a more efficient and powerful human machine.
Forget the platitudes. This guide will deconstruct the push-up and rebuild it from the ground up. We will challenge the supremacy of the bench press, provide a technical bridge over common plateaus, dissect grip variations for targeted muscle growth, and expose the form errors that are sabotaging your progress. You will learn to train your nervous system for rapid strength gains and integrate your entire body into a single, powerful unit. This is the path from stagnation to domination.
text
This comprehensive guide is structured to systematically build your understanding and capabilities. The following sections will provide a clear roadmap from foundational principles to advanced techniques, allowing you to engineer your own progress.
Summary: The Technical Guide to Advanced Push-Up Development
- Why Push-Ups Can Build a Bigger Chest Than Bench Press for Some Lifters?
- How to Bridge the Gap Between Knee Push-Ups and Full Toe Push-Ups?
- Wide Grip vs. Diamond Grip: Which Targets the Triceps More Effectively?
- The Elbow Flare Error That Destroys Shoulders in 30 Days
- Greasing the Groove: How Frequent Micro-Sets Increase Rep Count Fast?
- How to Modify Push-Ups and Squats If You Cannot Do a Single Rep?
- Why Power Should Come from Abs and Legs, Not Arms?
- Why the Standard Plank Fails to Fix Back Pain (And What to Do Instead)?
Why Push-Ups Can Build a Bigger Chest Than Bench Press for Some Lifters?
The dogmatic belief that the bench press is the unequivocal king of chest development is a fallacy born from gym culture, not biomechanical reality. For many, the push-up offers a superior stimulus for hypertrophy and strength. Why? Because the push-up is a closed-chain kinetic exercise. Your hands are fixed, and your body moves through space. This forces your scapulae—your shoulder blades—to move freely and naturally, promoting shoulder health and activating a wider array of stabilizing muscles throughout your core and upper back. The bench press, an open-chain exercise, locks your scapulae against a bench, creating an unnatural movement pattern that can lead to impingement and muscular imbalances.
Furthermore, the adaptive potential of the push-up is limitless. While you can add plates to a barbell, you can manipulate leverage in a push-up to create exponentially greater resistance. This is not just about adding reps; it’s about progressing to variations that place more of your bodyweight onto your chest and arms, such as decline push-ups, archer push-ups, or the eventual one-arm push-up. This progressive overload, driven by skill acquisition, builds a dense, functional strength that is often unmatched by isolated pressing movements.
The nervous system’s response is also critical. The push-up demands constant stabilization from your entire trunk, turning the exercise into a full-body lesson in tension. This high level of neurological demand leads to greater overall strength development. In fact, recent EMG research reveals that while the absolute load is different, the muscle activation patterns can be surprisingly similar. The study highlighted that females performed 77.4% less bench press than push-up repetitions, while males performed 53.1% less, indicating that push-ups allow for significantly higher volume, a key driver of hypertrophy.
How to Bridge the Gap Between Knee Push-Ups and Full Toe Push-Ups?
The advice to “just do knee push-ups until you’re strong enough for full ones” is lazy coaching. It creates a false equivalency and fails to properly train the core stability required for a true push-up. The transition from knees to toes represents a massive leap in the percentage of bodyweight you must press, and it completely changes the leverage and demand on your core. The solution is not to stay on your knees, but to get on your feet and manipulate your environment. The key is incline progression.
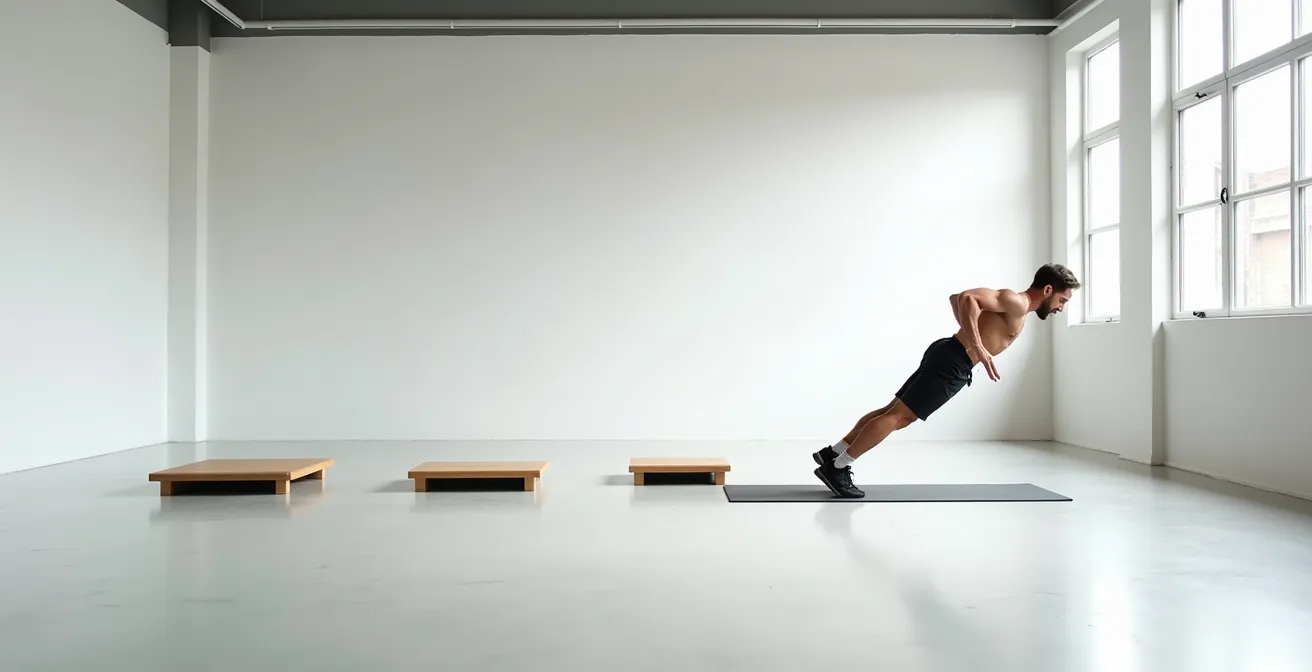
Start by performing push-ups against a wall. This is the first step in engineering the progression. By standing nearly upright, you are pressing a very small fraction of your bodyweight. The goal here is perfect form: a rigid plank from head to heels, controlled descent, and powerful press. Once you can execute sets of 15-20 with flawless technique, you don’t drop to the floor; you lower the incline. Move to a high countertop, then a sturdy desk, then a bench, and so on. Each step incrementally increases the load.
This methodical decrease in incline is the most effective way to build the requisite strength. A biomechanical analysis shows that higher elevation reduces the body weight lifted during the movement. This allows you to maintain the crucial full-body tension and plank posture of a real push-up while working with a manageable load. Knee push-ups train you to hinge at the knees and disengage the lower body; incline push-ups train the exact motor pattern you need to succeed on the floor. Mastering each level of incline before moving to a lower one ensures a seamless transition and builds a strong, injury-resistant foundation.

As you can see, the body remains in a straight, rigid line at every stage. This is non-negotiable. This process systematically strengthens the entire kinetic chain—pectorals, deltoids, triceps, and, most importantly, the core—preparing it for the full load of a standard push-up. Forget the knees; elevate your hands and build real strength.
Wide Grip vs. Diamond Grip: Which Targets the Triceps More Effectively?
Modifying hand placement is a primary tool for shifting muscular emphasis in the push-up. Trainees often use wide and close grips arbitrarily, without understanding the precise biomechanical consequences. The answer to which variation targets the triceps more effectively is unequivocal and supported by electromyography (EMG) data: the diamond (or close-grip) push-up. Placing your hands close together, with thumbs and index fingers forming a diamond shape, forces your elbows to stay tucked close to your body. This position dramatically increases the demand on elbow extension, the primary function of the triceps brachii.
Conversely, a wide-grip push-up, with hands placed significantly outside shoulder-width, minimizes the contribution of the triceps. It increases the horizontal adduction at the shoulder joint, placing the bulk of the load onto the pectoralis major. While this can be a tool for chest emphasis, it also places greater stress on the shoulder joint if not performed with impeccable control. The standard, shoulder-width push-up offers the most balanced recruitment between the chest, shoulders, and triceps.
Understanding this allows you to program your training with intent. If your goal is triceps development, diamond push-ups are your primary tool. If you want to maximize chest activation, a slightly wider-than-shoulder-width grip is effective. But technical precision is paramount. Never sacrifice form for a wider grip, as this can lead to the dangerous elbow flare discussed later.
The following table, based on data from EMG studies, clarifies this relationship. As a comparative analysis of EMG activity shows, the differences in muscle activation are not subtle; they are significant and predictable.
| Push-Up Type | Triceps Activation | Pectoralis Major | Key Finding |
|---|---|---|---|
| Diamond/Close Grip | Highest | Moderate | 44% higher activation vs conventional |
| Standard Width | Moderate | High | Balanced muscle recruitment |
| Wide Grip | Lower | Highest | Emphasizes chest over triceps |
| Unstable Surface | Variable | Variable | Dual instability increases overall EMG |
The Elbow Flare Error That Destroys Shoulders in 30 Days
There is no single technical fault more destructive in the push-up than the elbow flare. This is when the elbows point directly out to the sides, forming a 90-degree angle with the torso. This common mistake, often encouraged by a “wide grip for a wide chest” mentality, is a direct path to shoulder impingement syndrome and rotator cuff injuries. It places the glenohumeral (shoulder) joint in a highly unstable and compromised position, grinding the soft tissues with every single repetition. You are not building your chest; you are dismantling your shoulders.
The correct position is to keep the elbows tucked at approximately a 45 to 60-degree angle relative to your torso. Think of your body and arms forming an arrowhead shape, not a “T” shape. This position allows the shoulder joint to move within its natural, safe range of motion. It properly engages the lats to help stabilize the shoulder and allows for optimal force transfer from the pecs and triceps. To achieve this, you must actively think about “screwing” your hands into the floor, which externally rotates the shoulders and engages the correct stabilizing muscles.
This is not a suggestion; it is a mandate for longevity and performance. Flared elbows are a sign of weakness and a lack of technical understanding. It often indicates an over-reliance on the anterior deltoids and a failure to properly engage the chest and lats. The pursuit of high rep counts with this flawed form is a fool’s errand. It’s not just ineffective for strength; it’s a guaranteed way to sideline yourself with a chronic injury. The irony is that proper form not only protects you but also allows you to be stronger and build more muscle in the long run. In fact, training correctly has benefits beyond muscle, as a study of over 1000 men found that those who could complete 40+ push-ups with good form showed a significantly reduced risk of cardiovascular disease.
Elbow Flare Correction Checklist: Your 5-Point Shoulder Audit
- Hand Placement: Check your setup. Are your hands positioned directly under your shoulders, not wider?
- Scapular Position: Before descending, are you actively pulling your shoulder blades down and back, away from your ears?
- Elbow Path: Film yourself from the side. During the rep, do your elbows track at a 45-degree angle or do they flare out towards 90 degrees?
- Forearm Angle: Pause at the bottom. Are your forearms perfectly vertical to the floor, indicating proper joint stacking?
- Activation Cue: Actively try to “screw your hands into the floor” throughout the set. This external rotation is your primary defense against flare.
Greasing the Groove: How Frequent Micro-Sets Increase Rep Count Fast?
If you’re stuck at a plateau, the answer isn’t always to train to failure. The “Greasing the Groove” (GTG) method, popularized by Pavel Tsatsouline, is a neurological approach to strength. It treats strength as a skill. The principle is simple: perform frequent, low-repetition sets of an exercise throughout the day, always stopping far short of muscular fatigue. You are not trying to annihilate the muscle; you are training the neuromuscular pathways to become more efficient at performing the movement.
Here’s how it works in practice: determine your maximum number of perfect-form push-ups. Let’s say it’s 20. For your GTG training, you will perform multiple sets of about 40-60% of that max, so 8-12 reps. The key is frequency. You might do a set every hour or two throughout your day. Each set should feel easy, almost trivial. You should finish each set feeling stronger than when you started. By doing this, you accumulate a high daily volume without the systemic fatigue and muscle damage associated with traditional training.
This high frequency of perfect practice teaches your nervous system to fire the correct motor units with maximum efficiency. It’s like practicing a guitar chord; the more often you do it perfectly, the more automatic it becomes. GTG is exceptionally effective for breaking through plateaus in bodyweight exercises like push-ups and pull-ups because they are highly dependent on motor skill. This isn’t just theory; it has been proven effective in countless real-world scenarios.
Case Study: Pavel’s Father-in-Law GTG Success Story
As detailed by Pavel and highlighted in an article on The Art of Manliness, a classic example involves his 60-year-old father-in-law. Starting with a max of five chin-ups, he began performing a single set every time he went down to his basement, averaging 25-100 reps daily without ever going to failure. After just a few weeks of this protocol, he was able to perform 20 consecutive chin-ups, a number that surpassed what he could do as a young Marine. This demonstrates the profound power of treating strength as a skill to be practiced, not just a muscle to be exhausted.
How to Modify Push-Ups and Squats If You Cannot Do a Single Rep?
The inability to perform a single repetition of a foundational movement like a push-up or a squat is not a sign of failure, but a diagnostic tool. It indicates a deficit in either absolute strength or, more commonly, a lack of structural integrity and motor control. The goal is not to find an “easier” exercise, but to build the specific components of strength that are currently missing. For the push-up, this begins not with pressing, but with holding. The high plank is your starting point. You must be able to hold a perfectly rigid plank for at least 60 seconds, demonstrating the core stability and shoulder endurance that are non-negotiable prerequisites.
Once you own the plank, you apply the principle of incline progression discussed earlier. Begin with wall push-ups, focusing on perfect form. This builds the motor pattern without overwhelming your strength capacity. For squats, the modification is not about reducing range of motion but about providing assistance. The box squat is the ultimate teaching tool. Set a box or bench behind you at a height you can control. Squat down until you are sitting on the box, pause for a second to break the eccentric-concentric chain, and then drive back up. This teaches you to sit back with your hips and maintain an upright torso. As you get stronger, you progressively lower the height of the box until you no longer need it.
This approach is systematic. You are not just doing “something”; you are reverse-engineering the movement to its most basic components and building from there. Mastering one progression before moving to the next is essential. This methodical process ensures that you are building strength on a solid foundation of good mechanics, which is the fastest and safest path to achieving your first full rep and beyond. Indeed, the power of systematic, non-fatigue training is potent; a recent 14-day challenge demonstrated that a participant went from a max of 35 perfect push-ups to a goal of 70 reps simply by applying the GTG method of frequent, sub-maximal practice.
Why Power Should Come from Abs and Legs, Not Arms?
Focusing on the arms as the prime mover in a push-up is a rookie mistake. A correctly executed push-up is a demonstration of power transfer through a rigid, stable structure. That structure is your entire body, locked into a solid plank by your abdominals, glutes, and quadriceps. The power for any athletic movement, including the push-up, originates from the center of the body and radiates outward. Your arms are merely the final link in this kinetic chain.
Think of it this way: trying to perform a push-up with a sagging core is like trying to shoot a cannon from a canoe. The force you generate with your chest and arms will dissipate into the unstable structure, resulting in a weak and inefficient press. Now, imagine that canoe is a battleship. By creating maximum tension—bracing your abs as if expecting a punch, squeezing your glutes, and actively pushing your feet into the floor—you create a rock-solid platform. From this stable base, the power generated by your upper body has nowhere to go but into moving your body as a single, powerful unit.
This concept of total-body tension is what separates an intermediate from a master. Before you even begin to bend your elbows, your entire body should be “switched on.” This neurological drive not only makes you stronger and allows you to press more weight (in this case, your body), but it also protects your spine and shoulders from injurious forces. A weak core will inevitably lead to a “worm-like” push-up, where the hips sag and the lower back hyperextends, placing dangerous shear forces on the lumbar spine. Master the tension first. The strength in your arms will follow.
Key Takeaways
- The push-up is a skill that demands technical mastery of leverage and tension, not just brute force.
- Correcting form errors like elbow flare and a sagging core is more critical for long-term progress and health than increasing rep count.
- Neurological training methods like “Greasing the Groove” can be more effective for breaking plateaus than traditional training to failure.
Why the Standard Plank Fails to Fix Back Pain (And What to Do Instead)?
The standard plank is often prescribed as a panacea for core weakness and back pain, but it’s frequently performed incorrectly and misunderstood. Holding a plank for minutes on end with a sagging lower back and shrugged shoulders does nothing to build functional core strength; it merely trains you to endure a poor position. The goal of a plank is not duration; it is maximum tension. A properly executed “hardstyle” plank, held for just 10-15 seconds with every muscle contracted, is infinitely more valuable than a 3-minute sloppy hold.
A standard plank primarily challenges the anterior core’s anti-extension function. While important, it is only one piece of the puzzle. True core stability, the kind that protects your back and powers movements like the push-up, requires a 360-degree brace. This means you must also train anti-lateral-flexion (side planks) and anti-rotation (Pallof presses). Relying solely on the standard plank leaves you vulnerable and creates an incomplete “core armor.” The issue is not the plank itself, but its lazy application and its isolation from other essential core functions.
Perform your push ups in a slow and controlled manner to maximize muscle activation. Taking things slower will mean you fatigue less quickly so you can perform more reps and make greater strength gains.
– Fitness experts, The Clip Out – Push-Up Progression Guide
This advice to slow down applies directly to core training. Instead of passively holding a plank, actively create tension. Pull your elbows towards your toes, squeeze your glutes as hard as possible, and brace your abs. This transforms the exercise from a passive hold into an active, strength-building movement. Combine these hardstyle planks with side planks and rotational exercises to build a core that is truly resilient and powerful. This is the core that will stabilize your spine and serve as the foundation for every advanced push-up variation you will ever perform.
Now that you understand the intricate mechanics and neurological principles, you have the tools to engineer your own progress. The next step is to apply this knowledge with discipline and consistency, transforming your push-up from a simple exercise into a definitive expression of your strength. Evaluate your current level, choose the appropriate progression, and begin the work.